Posted on Leave a comment

Building A Custom Knife

4 Inch Exampes

When making custom knives, various materials can be used for the blade, handle, and other components. The choice of materials often depends on the intended use of the knife, the desired aesthetic, and the maker’s preferences. Here are some common materials used for custom knives:

HTM DDR Madd Maxx 4 Dagger “Tux”

Blade Materials:

  1. Steel Alloys:
    • Carbon Steel: Offers excellent sharpness and edge retention but is prone to corrosion. It requires regular maintenance.
    • Stainless Steel: Resistant to corrosion and requires less maintenance, but it may be harder to sharpen than carbon steel.
  2. Tool Steel:
    • D2, O1, A2: High carbon tool steels known for their durability and resistance to wear.
  3. Damascus Steel:
    • A composite of multiple layers of steel, often folded and patterned for a distinctive look. It can combine the properties of different steel types.
HTM DDR Madd Maxx 3 Damascus Dagger With Mammoth

Handle Materials:

  1. Wood:
    • Exotic Hardwoods (e.g., Cocobolo, Rosewood): Offer a natural and aesthetically pleasing look.
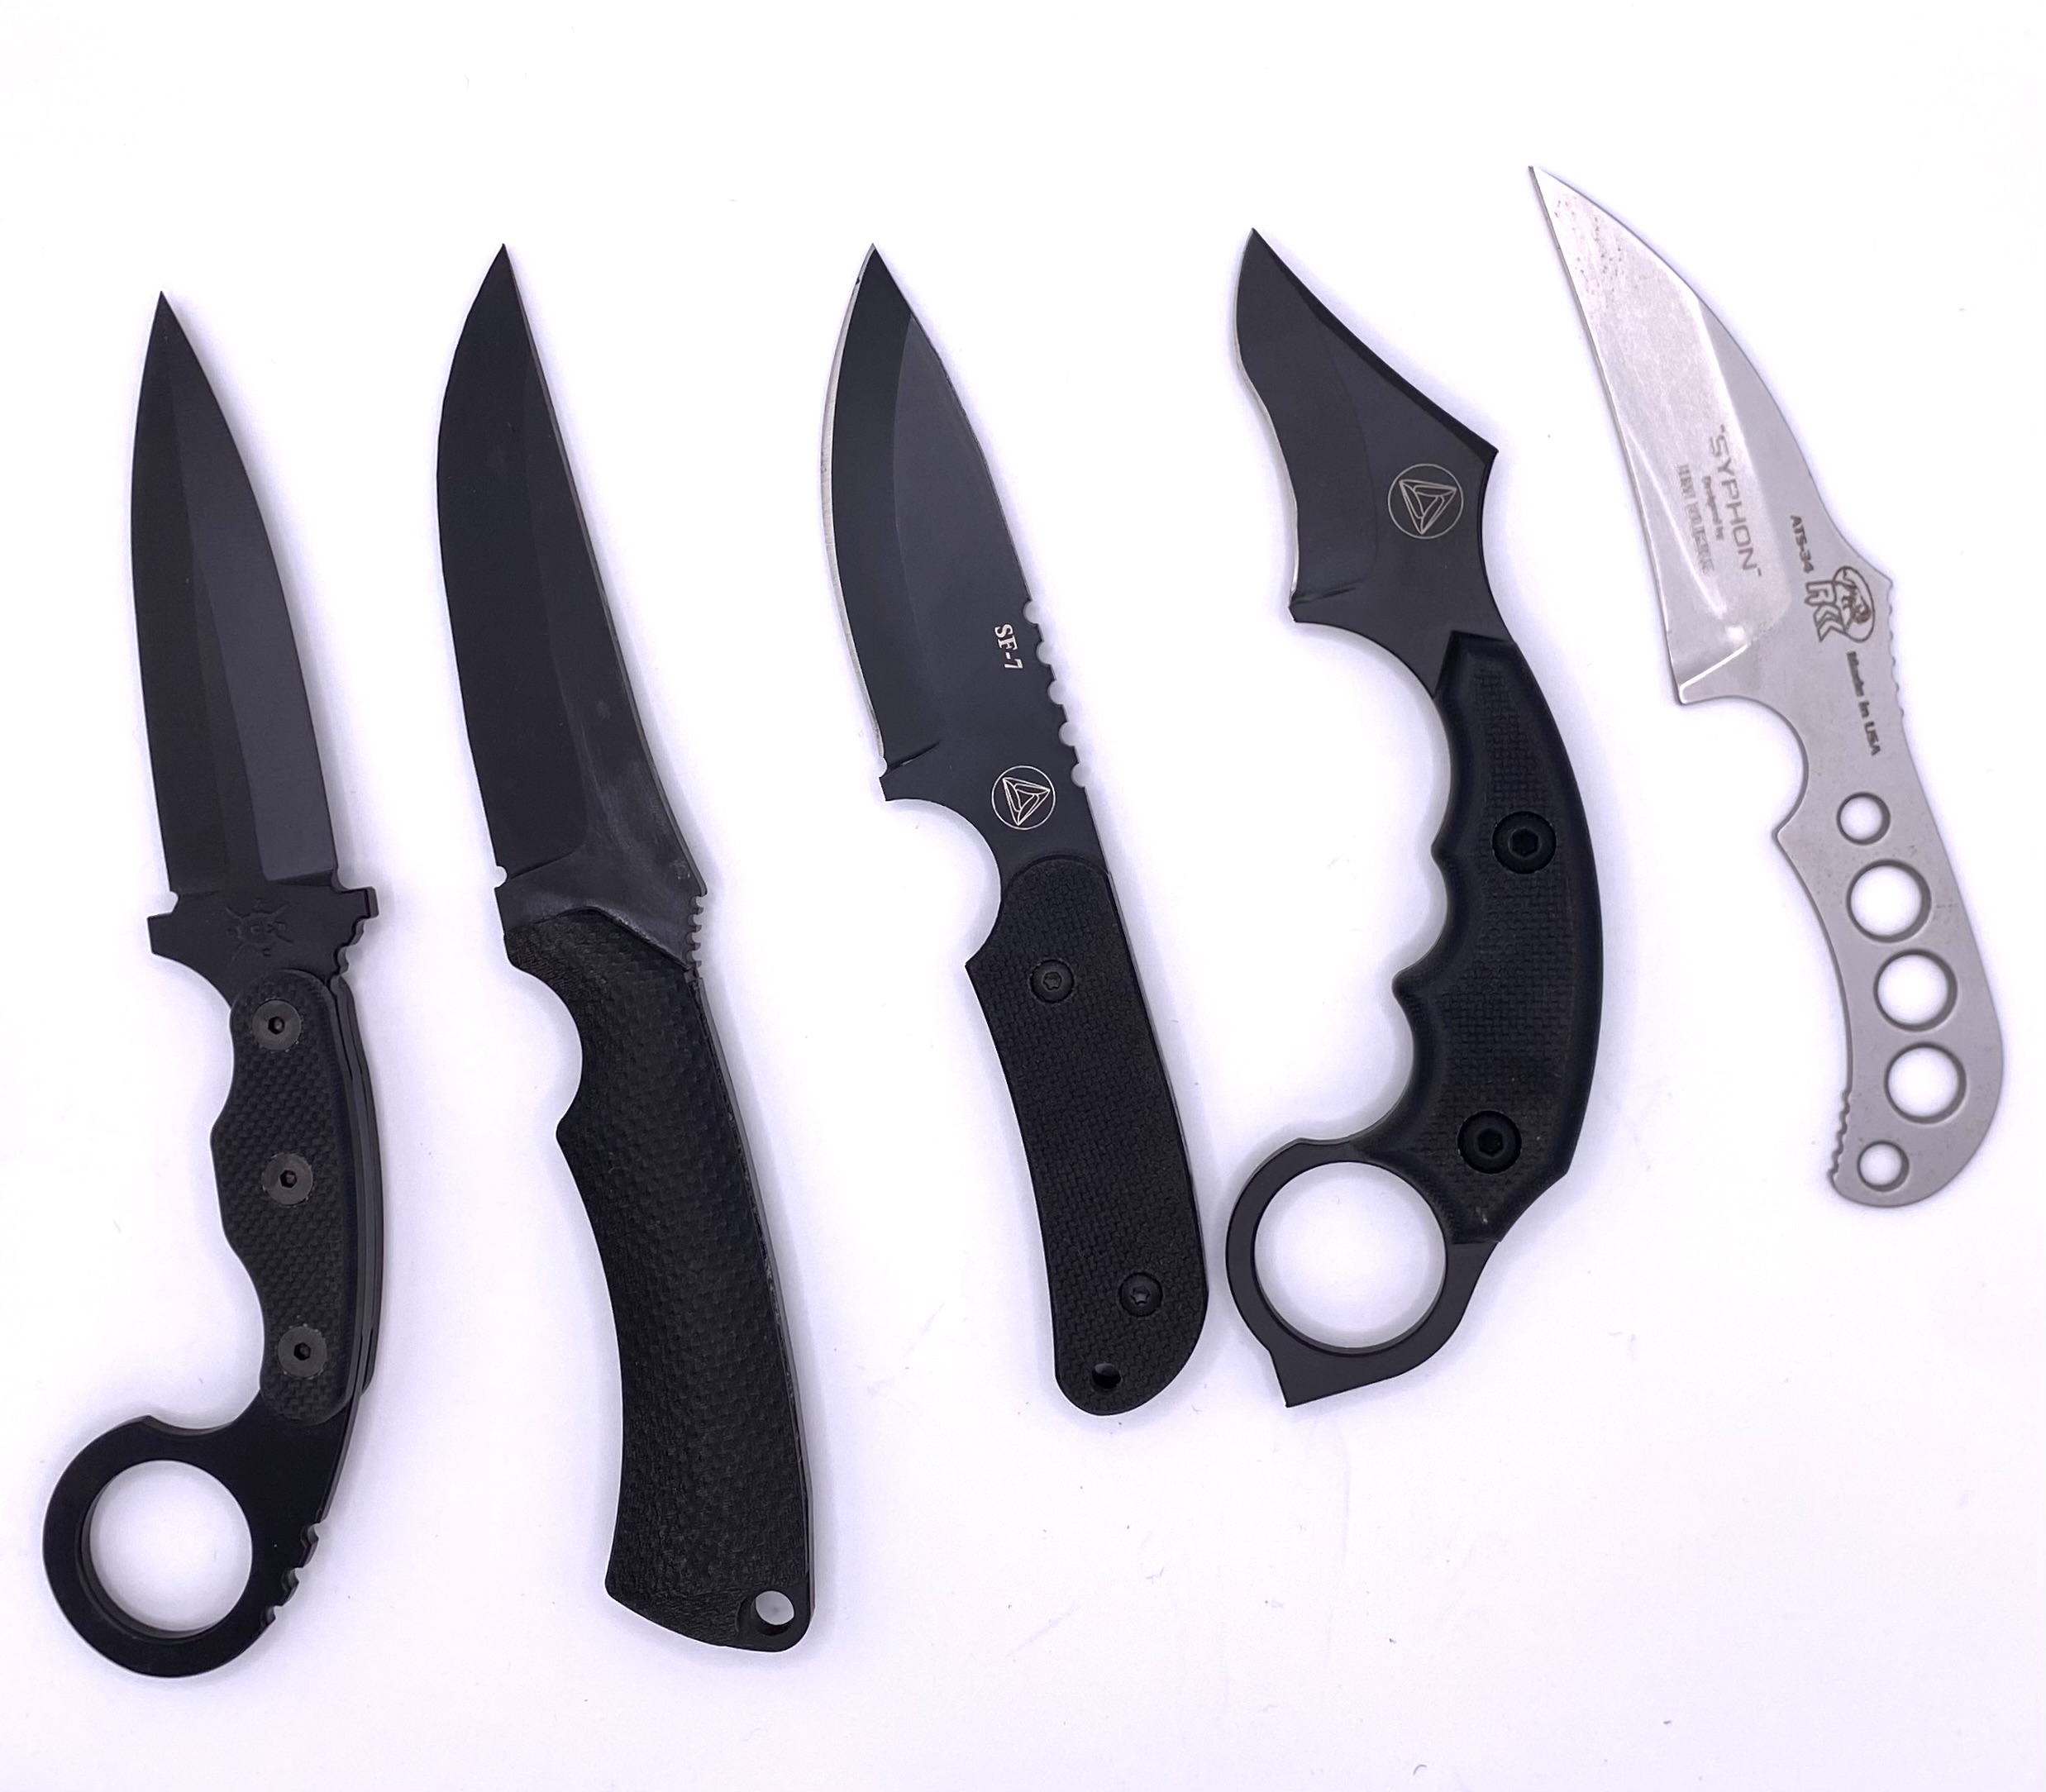
    • Micarta: A composite material made from layers of linen, canvas, or paper impregnated with resin. It’s durable and provides a good grip.
  2. G10:
    • A high-pressure fiberglass laminate. It is lightweight, durable, and resistant to moisture.
  3. Carbon Fiber:
    • Lightweight, strong, and has a modern, high-tech appearance.
  4. Stabilized Wood:
    • Wood that has been impregnated with resin to improve durability and resistance to moisture.
  5. Bone and Horn:
    • Traditional materials that add a unique and natural aesthetic.
  6. Titanium:
    • Lightweight and corrosion-resistant. Often used for high-end custom knife handles.

Other Components:

  1. Bolsters:
    • Metal components, often placed at the ends of the handle for added strength and aesthetics.
  2. Pins and Rivets:
    • Used to secure the handle scales to the tang and add structural integrity.
  3. Liners:
    • Thin layers of material (often contrasting in color to the handle) used between the scales for visual appeal.
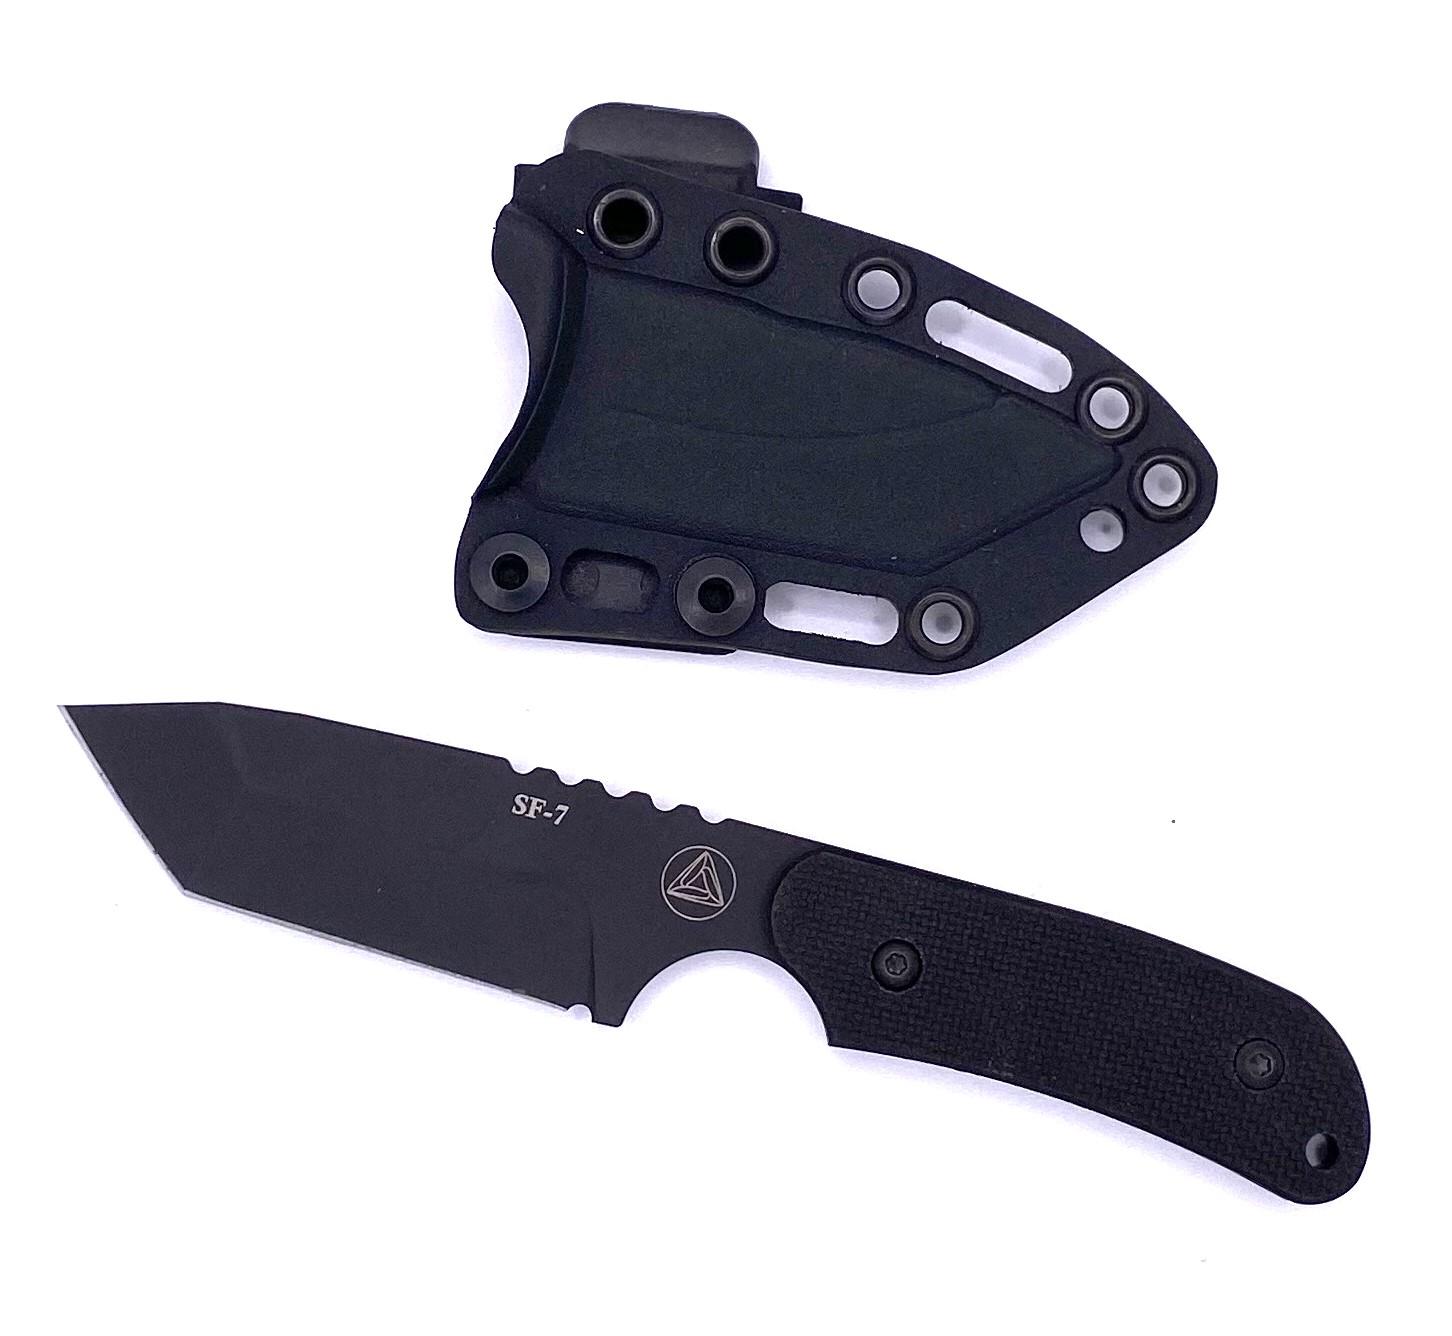
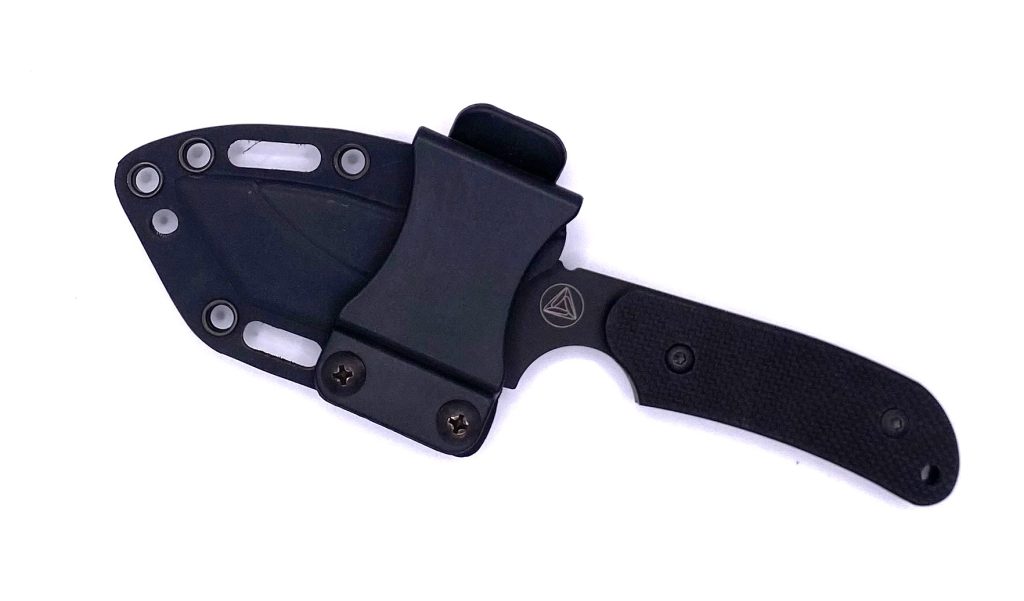
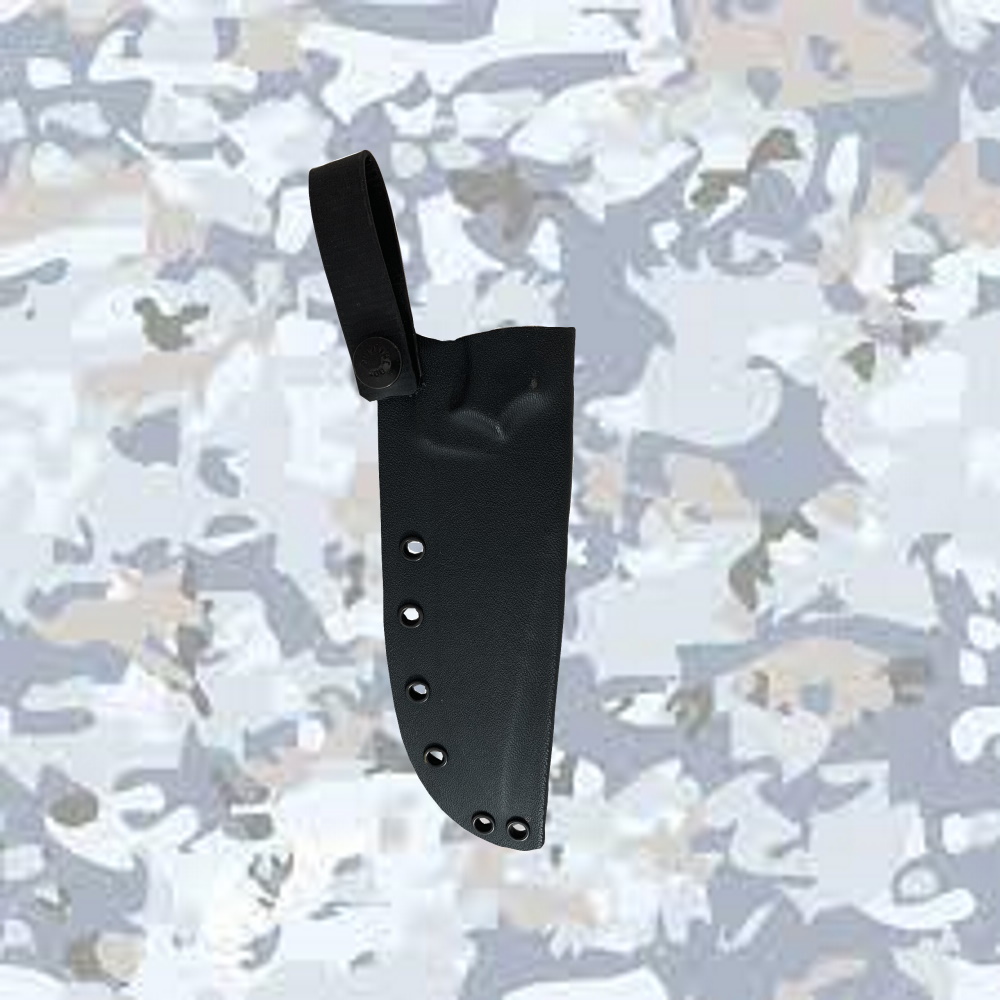
  4. Sheath Material:
    • Leather, Kydex, or other materials can be used for making a sheath to protect and carry the knife.

Custom knife makers often experiment with different combinations of these materials to create unique and functional knives. It’s essential to consider the balance between aesthetics, functionality, and the specific needs of the user when selecting materials for a custom knife.

Posted on Leave a comment

Custom Knife Sheaths

Combative Edge SF7 Tanto

A custom knife sheath is a protective cover for a fixed blade knife that is made to fit the specific knife perfectly. It is typically made of leather or Kydex and is designed to be worn on the belt, but can also be worn on the backpack or other gear. Custom knife sheaths are often made by hand and can be very elaborate, with features such as stitching, tooling, and stamping.

Combative Edge SF7 Tanto Sheath

There are many benefits to having a custom knife sheath. First, it protects the knife from damage, such as scratches and nicks. Second, it makes it easier to carry the knife, as it provides a secure way to attach it to the body or gear. Third, it can add a personal touch to the knife, making it unique and special to the owner.

If you are considering getting a custom knife sheath, there are a few things to keep in mind. First, you need to choose the right material for your needs. Leather is a traditional choice for knife sheaths, but it can be susceptible to moisture damage. Kydex is a more durable material that is less likely to be damaged by water.

Second, you need to decide how you want to carry the knife. If you want to wear it on your belt, you will need to choose a sheath that is designed for belt carry. If you want to carry it on your backpack, you will need to choose a sheath that has a loop or other attachment point for securing it to the pack.

EQUALIZER Fixed Blade Sheath

Finally, you need to decide on the style of the sheath. There are many different styles of custom knife sheaths available, so you should be able to find one that fits your personality and needs.

Here are some of the most popular styles of custom knife sheaths:

  • Pancake style: This style of sheath is worn horizontally on the belt. It is a good choice for knives that are used for everyday tasks, such as camping and hiking.
  • Belt sheath: This style of sheath is worn vertically on the belt. It is a good choice for knives that are used for heavier tasks, such as hunting and fishing.
  • Neck sheath: This style of sheath is worn around the neck. It is a good choice for knives that need to be accessible quickly, such as self-defense knives.
  • Shoulder sheath: This style of sheath is worn over one shoulder. It is a good choice for long knives, such as machetes and swords.
Posted on Leave a comment

How To Create A Custom Knife Sheath

EQUALIZER Fixed Blade Sheath

Creating a custom knife sheath can be a rewarding project, and it allows you to tailor the sheath to the specific size and shape of your knife. Here’s a general guide on how you can make a simple leather sheath for your custom knife:

Materials:

  1. Leather: Choose a quality leather that is thick enough to provide durability but still pliable. Vegetable-tanned leather is a good choice for this type of project.
  2. Leatherworking tools:
    • Cutting mat or surface
    • Utility knife or leather cutting tool
    • Stitching groover
    • Edge beveler
    • Wing divider or compass
    • Hole punch
    • Needles and waxed thread for stitching
    • Ruler or straight edge
    • Sandpaper or burnishing tool for finishing edges
    • Dye or finish (optional)
  3. Fasteners:
    • Snaps, buttons, or rivets for closure (optional)

Steps:

  1. Measure and Design:
    • Measure the length, width, and thickness of your knife.
    • Create a pattern for your sheath by drawing the outline of the knife onto a piece of paper. Add seam allowances and any additional space needed for the knife to slide in and out comfortably.
  2. Cut the Leather:
    • Transfer your pattern onto the leather and cut it out using a sharp utility knife or leather cutting tool. Cut two identical pieces for the front and back of the sheath.
  3. Stitching Groove and Edge Beveling:
    • Use a stitching groover to mark a stitching line along the edges of the sheath, ensuring it is equidistant from the edge.
    • Bevel the edges of the leather to give it a rounded, smooth appearance.
  4. Hole Punching:
    • Use a hole punch to create evenly spaced holes along the stitching line for sewing the sheath together. Ensure the holes on both pieces align.
  5. Stitching:
    • Thread a needle with waxed thread and begin stitching the two pieces together along the punched holes. Use a saddle stitch for durability.
  6. Forming the Sheath:
    • Wet the leather slightly and form it around the knife to create a snug fit. Allow it to dry while still on the knife to maintain the shape.
  7. Finishing:
    • Trim any excess leather and smooth the edges with sandpaper or a burnishing tool.
    • If desired, dye or finish the sheath according to your preference.
  8. Closure (Optional):
    • Add snaps, buttons, or rivets for a closure mechanism if you want to secure the knife in the sheath.

Remember, this is a basic guide, and you can customize it based on your preferences and the specific requirements of your knife. Additionally, safety precautions should be taken when using sharp tools, and it’s a good idea to practice on scrap leather before working on the final piece.